Sooner or later, one of your best customers asks the question: “Can you also make these labels with RFID?” For many label printers this moment arrives faster than expected. Retailers want item level tagging, logistics customers want smarter shipping labels, and the Digital Product Passport is pushing brands to give every product a digital identity.
The good news: you already master the hardest part of the business. You know substrates, adhesives, die cutting, print quality and how to deliver on time. RFID adds a new layer on top of that. In this article we walk through what really changes when a label printer adds RFID, step by step, and where most companies lose time and money in the first year.
An RFID label is still a label. It just carries a tiny radio inside, and that radio has to work on the customer’s product, every single time.
What Is Inside an RFID Label?
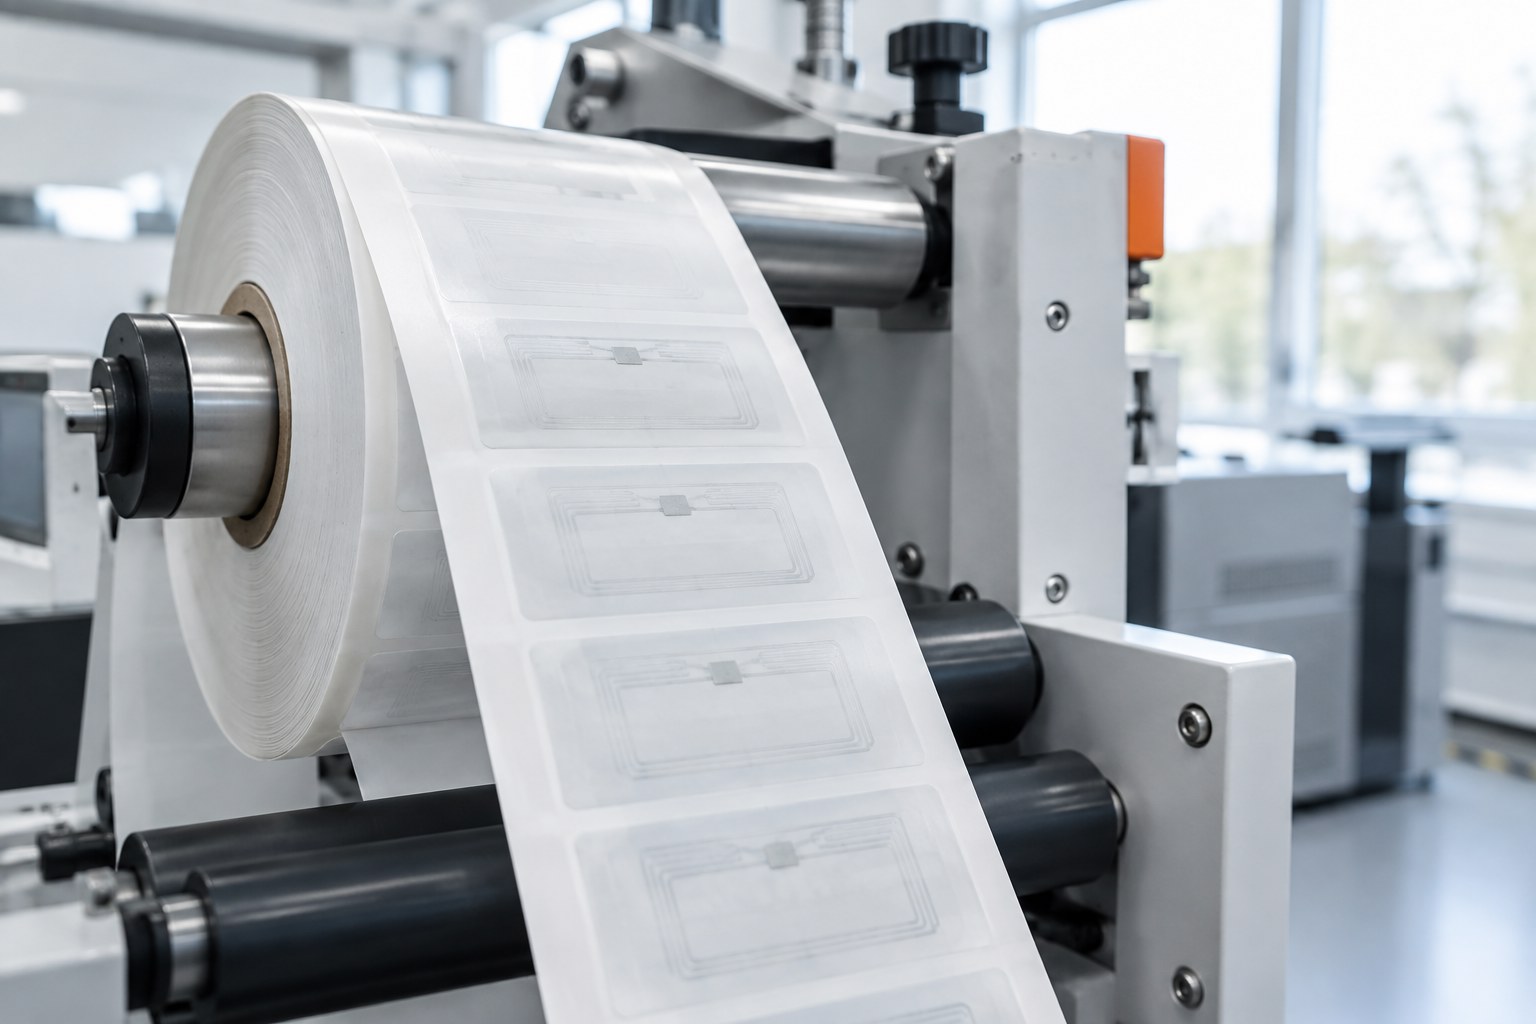
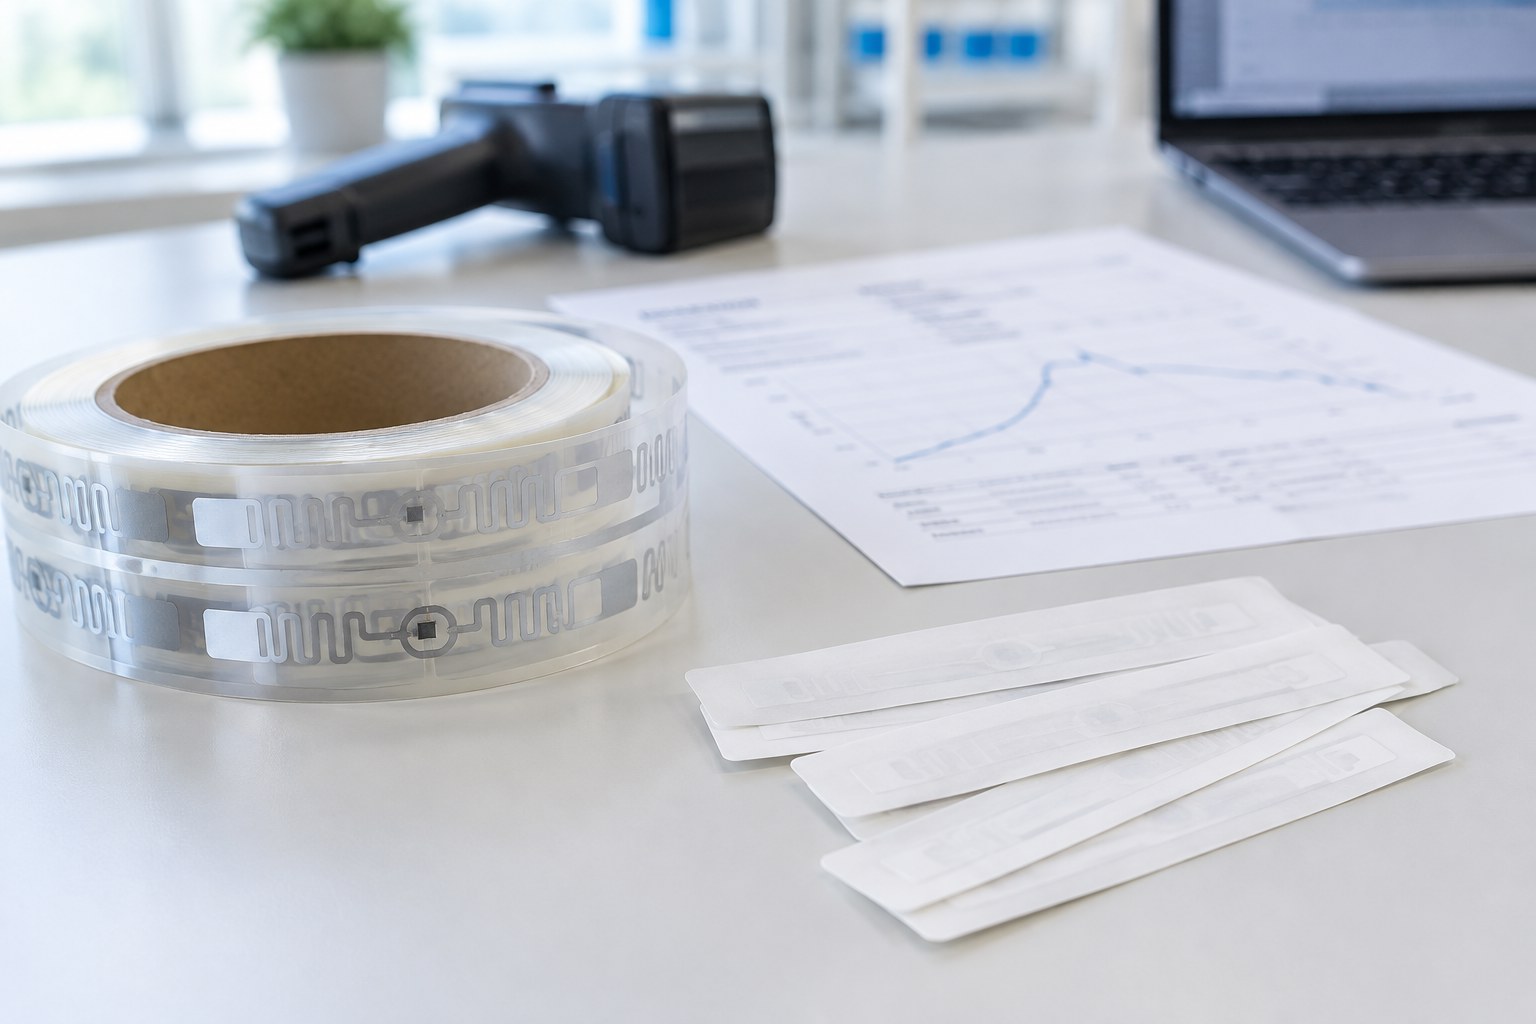
A printed RFID label is your normal label with an inlay placed between the face stock and the liner. The inlay is a thin film carrying an aluminium antenna and a small chip. You do not need to make inlays yourself. Specialised manufacturers produce them by the billion and deliver them on reels, either as dry inlays (no adhesive) or wet inlays (with adhesive, ready to apply).
| Layer | What it does | Who usually makes it |
|---|---|---|
| Face stock | Carries your print, barcode and human readable text | You, as today |
| Inlay | Antenna plus chip, the radio part | Inlay manufacturer |
| Adhesive | Holds the label on the product | Your usual supplier |
| Liner | Carries the label until it is applied | Your usual supplier |
So the new skills are not about printing. They are about choosing the right inlay, inserting it without damage, writing the right data into the chip and proving that every label works.
Step 1: Start With the Customer’s Use Case
Before you talk about machines, ask your customer a few simple questions. The answers decide almost everything that follows.
- What is the label stuck on? Cardboard, textile, plastic, glass, liquid or metal all behave differently. Metal and liquids need special inlays.
- How far away must it be read? A checkout counter, a dock door and a handheld scanner need different performance.
- Where in the world is it read? UHF frequencies differ between Europe, the US and Asia. Global products need a global inlay.
- What data goes into the chip? Usually a GS1 number such as SGTIN-96, sometimes a customer specific scheme.
- Does the retailer demand a certified tag? Many large retailers only accept inlays that passed a recognised performance program, such as ARC from the Auburn University RFID Lab.
A short written specification with these five answers protects you later, when a customer says the labels “do not read well”. Often the label is fine and the use case was never defined.
Step 2: Choose the Right Inlay
There are hundreds of inlays on the market. For a label printer, three things matter most: size (it must fit your label with enough margin for die cutting), performance on the customer’s material, and supply security. Ask for samples early, test them on the real product and keep a second source in mind. During the last chip shortages, printers with only one supplier had to tell customers to wait.
A practical tip: keep your first product range small. Three or four well tested inlays cover most retail and logistics jobs. Every new inlay means new testing, new settings and new stock.
Step 3: Decide How You Will Convert
Converting means bringing the inlay into the label. Label printers usually choose one of three routes, depending on volume.
| Route | Best for | Strengths | Watch out for |
|---|---|---|---|
| Buy finished RFID labels and print them | First orders, small runs | No investment, fast start | Lower margin, less control over quality |
| Inlay insertion module on your label press | Medium volumes | Uses machines and people you already have | Press speed, inlay pitch and web tension need careful setup |
| Dedicated RFID converting line | High volumes, many millions per year | Speed, built in testing, stable quality | Higher investment, needs trained operators |
Many printers start with the first route to win orders, then move to insertion once volumes are clear. Starting too big is one of the most expensive mistakes we see.
Step 4: Encoding and Printing
Every RFID label needs data in its chip. Encoding can happen at the inlay maker, on your converting line, on an RFID printer at your plant, or at the customer’s site. For variable data jobs, RFID printers (print and encode in one pass) are the easiest start. For high volumes, encoding usually moves onto the converting line.
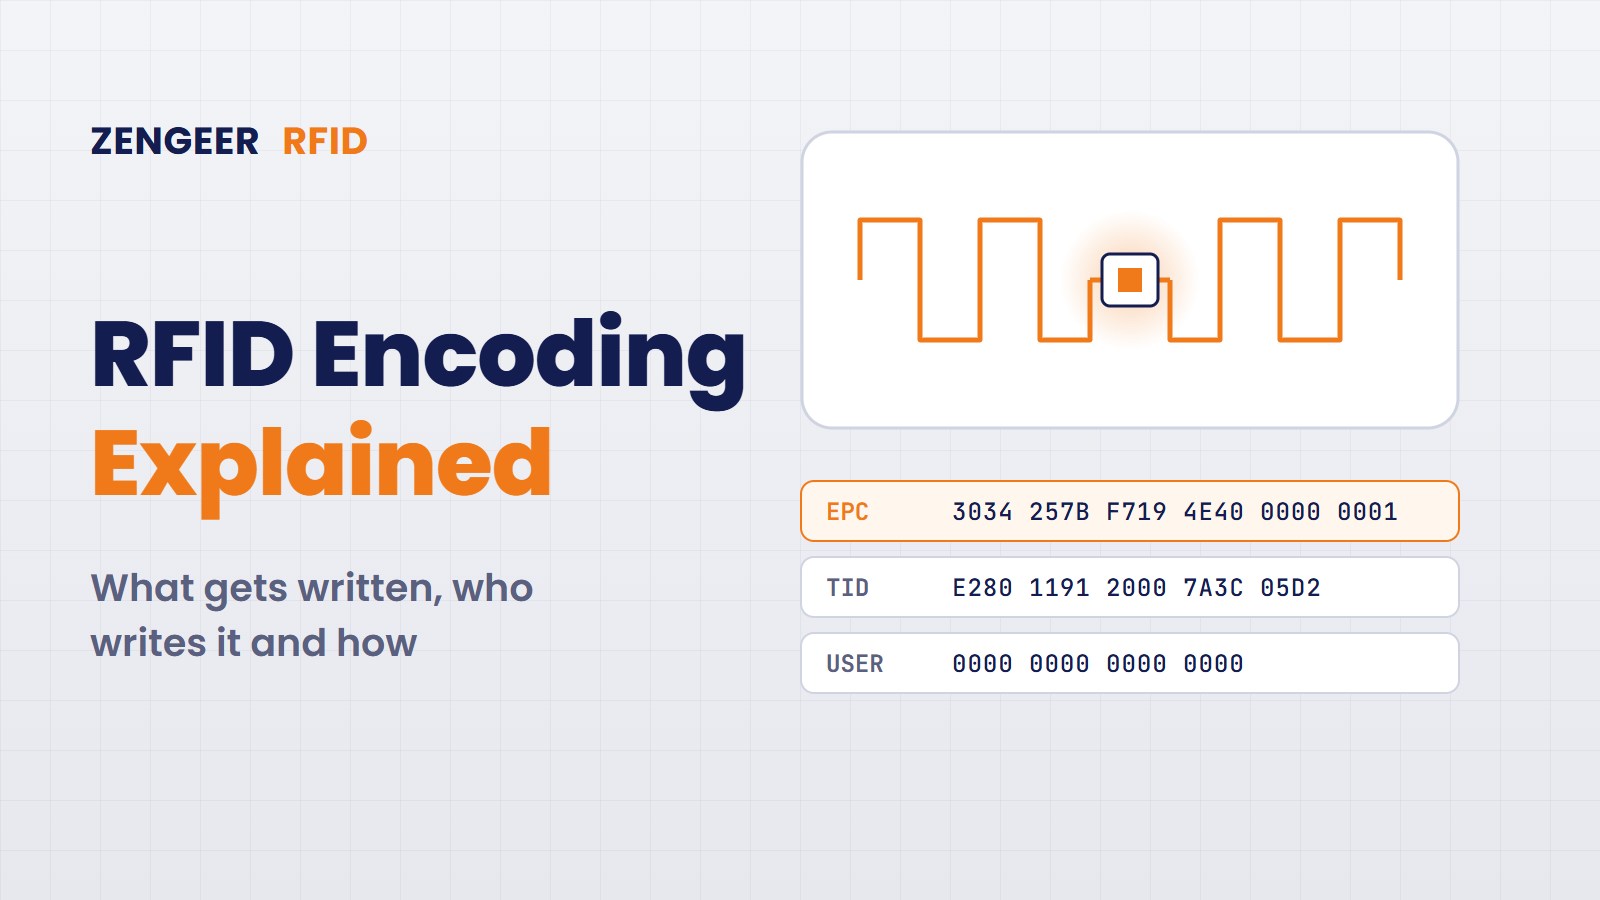
Whatever you choose, one rule never changes: every serial number must be unique. Two labels with the same number create ghost stock in your customer’s system. You need a clear process for who generates the numbers, how they are stored and how a reprint is handled. We explain this in detail in our article RFID Encoding Explained.
Step 5: Test Every Label
With a barcode you can see a bad print. With RFID you cannot see a dead chip. That is why professional RFID production tests every single label: the reader checks that the chip answers, that the data is correct and that the signal is strong enough. Bad labels are marked or punched out, and the count goes into the roll report.
Typical causes of dead or weak labels in a label plant:
- Too much pressure in the die cutting or laminating station, which cracks the chip bond
- A die cutting tool that touches the antenna
- Static electricity on fast running webs
- Tight bending around small rewind cores
- Adhesives or face stocks that detune the antenna on the final product
Agree with your customer on an acceptable reject rate and how rejects are marked, before the first order ships.
Step 6: Train Your People
Your press operators are experts in print and finishing. RFID adds new words and new decisions: read rates, tuning, encoding errors, EPC formats. A short, practical training on your own machines pays back quickly. Operators who understand why a label fails find the cause in minutes instead of hours.
The Five Most Common Mistakes
- Buying a machine before the first customer project is clear. Let real orders decide the investment.
- Testing the inlay on the bench, not on the product. A label that reads well on a desk can fail on a bottle or a metal box.
- No plan for serial numbers. Duplicates are hard to find and very hard to explain.
- Skipping 100 percent testing to save time. One dead label in a retailer’s system costs more than the test.
- Too many inlay types too early. Start small, learn, then grow.
Where to Start
Adding RFID is less about technology and more about doing a few things in the right order: understand the use case, pick a small set of proven inlays, choose a converting route that fits your volume, control your data and test everything. Label printers who follow this order usually turn their first RFID orders into a stable new business line.
At Zengeer RFID we come from the machine side of RFID production. We have commissioned and optimised RFID inlay and strap production lines for years, and we help label printers plan and run their RFID step with confidence.
Thinking about adding RFID to your label business? Get a Free Consultation and let us look at your next step together.


Leave a Reply